Do you want to practice for the league a bit more but you don’t have time to make it to your local venue?
We’re here to help you get some practice in at home with some instruction on building your own axe throwing target.
We have some outlines for the targets in our WATL Official Rules you’ll find at any WATL venue. These targets are intended more for venues to place permanent axe throwing, wall-mounted, targets.
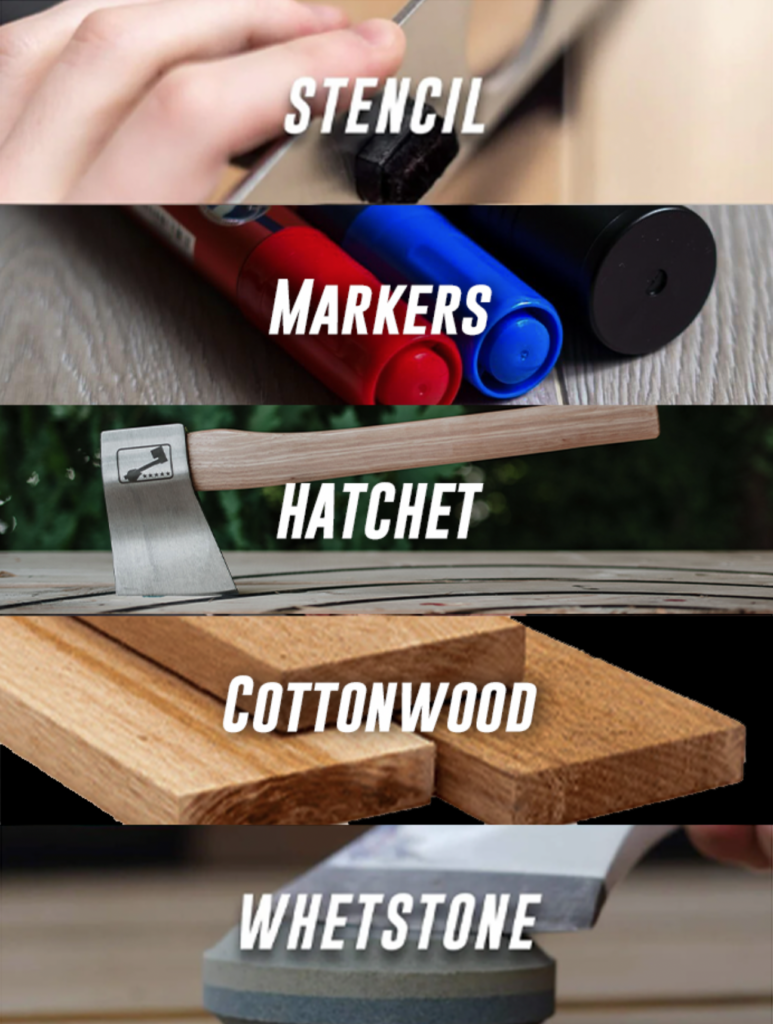
You’re going to need something to throw at your target, make sure to check out the WATL Ultimate Starter Kit. The WATL Starter Kit comes with a WATL target stencil, WATL markers, Hatchet, Cottonwood Boards, and a Whetstone – everything a thrower needs to get started with a backyard target.
We’ve linked a PDF of our instructions for easy assembly below.
Axe Target Materials List:
- 2 bottom lengths – 2″x4″x72”
- 3 bottom spreader lengths (back/front/mid) – 2″x4″x45”
- 2 upright vertical lengths – 2″x4″x84”
- 2 diagonal support beam lengths – 2″x4″x88”
- 2 upright vertical length spreaders – 2″x4″x42”
- 2 filler lengths – approx. 2″x4″x8” (use offcuts from other lengths)
- 1 2″x10″x4’ front base/ledge board
- 5 2″x10″x4’ target backboards
- 5 2″x10″x4’ target front boards
- 3” Deck Screws (100 count)
- Measuring Tape
- Level
- Drill
- 1 Official WATL Target Stencil
- Official WATL Marker – 1 of each color
Start Your Own Community Venue & Leagues
A Community Model venue is a home-based league that can be hosted in garages, shops, backyards, barns, or even in partnership with organizations like the Legion
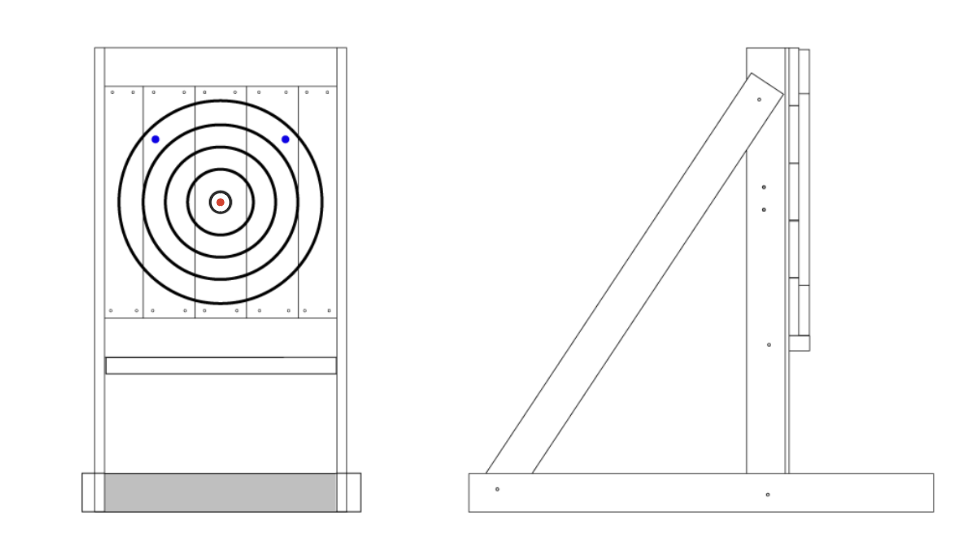
Assembling Your Axe Throwing Target
Step 1
Screw the front and back spreaders to the ends of the bottom lengths.
Step 2
Screw a spreader approximately in the center of the bottom lengths.
Step 3
Screw one of the upright vertical length spreaders to the top of the vertical lengths. It should be flush with the front of the vertical lengths.
Step 4
Screw the other upright vertical length spreader to the vertical lengths, the TOP of the spreader should be 3 feet (36 inches) from the bottom of the vertical lengths, and it should stick out 1 1/2 inches to the front of the vertical lengths (the width of your 2x10x4’ backboard). *You may need an assistant to help with step 5 and 6 below
Step 5
Screw the vertical lengths to the inside of the bottom lengths. The CENTER of the vertical lengths should be at 12 inches from the front of the bottom lengths. *Pro Tip: use your level to ensure that the verticals are STRAIGHT.
Step 6
Screw the diagonal support lengths first to the back of the bottom lengths (inside them), then to the inside of the vertical lengths.
Step 7
Screw the filler lengths to the front facing part of the vertical lengths. They should be flush to the top of the spreader from step 4. Some of the 2×4 filler will stick out to the sides. The purpose of these are to give something to screw the bottom ledger board into. *Pro Tip: If the extra bits sticking to the sides bothers you, rip the pieces to 1 1/2 inches wide so they are also flush with the vertical supports.
Step 8
Screw the ledger board to the front of the uprights. The TOP of the ledge board should be at exactly 36″ from the ground. *Pro Tip: Use your level to ensure that it is straight across the length of it.
Step 9
Screw the target backboards into the frame horizontally across the front of the target.
Step 10
Find the center point of your target, line it up with the center of one of your front target boards, and screw the boards into the backboard. Continue screwing in the vertical target boards outwards from that center board.
Step 11
Use a WATL Stencil to draw on your targets. Make sure to follow the rules on height measurements for WATL targets you can find here in Section H of the rules page.
How To Use A WATL Stencil
Getting The Right Equipment
The Ultimate Starter Kit
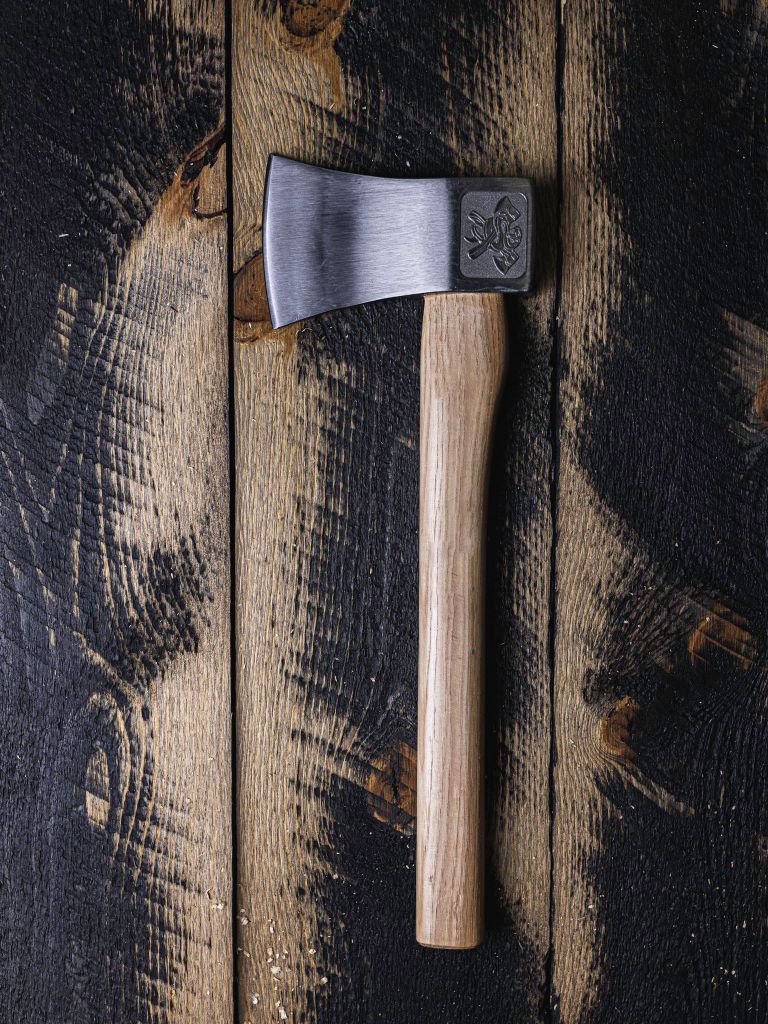
The WATL Ultimate Starter Kit is the best introductory package to get new throwers into the sport of Axe Throwing.
The WATL Ultimate Starter Kit comes with three 36″ Cottonwood Boards, a WATL target stencil, WATL marker set , whetstone and a Hatchet of your choosing – everything a thrower needs to get started with a new backyard or garage target.
WATL Axes, unlike standard hardware store Hatchets, are designed to be thrown. Furthermore, Cottonwood is the wood of choice for axe throwing venues. This wood can take a tonne of throws and allows the axe to stick with very little effort due to its moisture and soft nature.
Best Value for Aspiring Axe Throwers
The Ultimate Starter Kit combines premium equipment with exceptional value, giving you everything needed to start axe throwing without any additional purchases. It’s a complete setup at an unbeatable price, and with free shipping included, this kit truly delivers the best value for aspiring axe throwers ready to get started at home.
Upgrading Over Time
If you are looking for an upgraded Standard Hatchet, there are more options to consider.
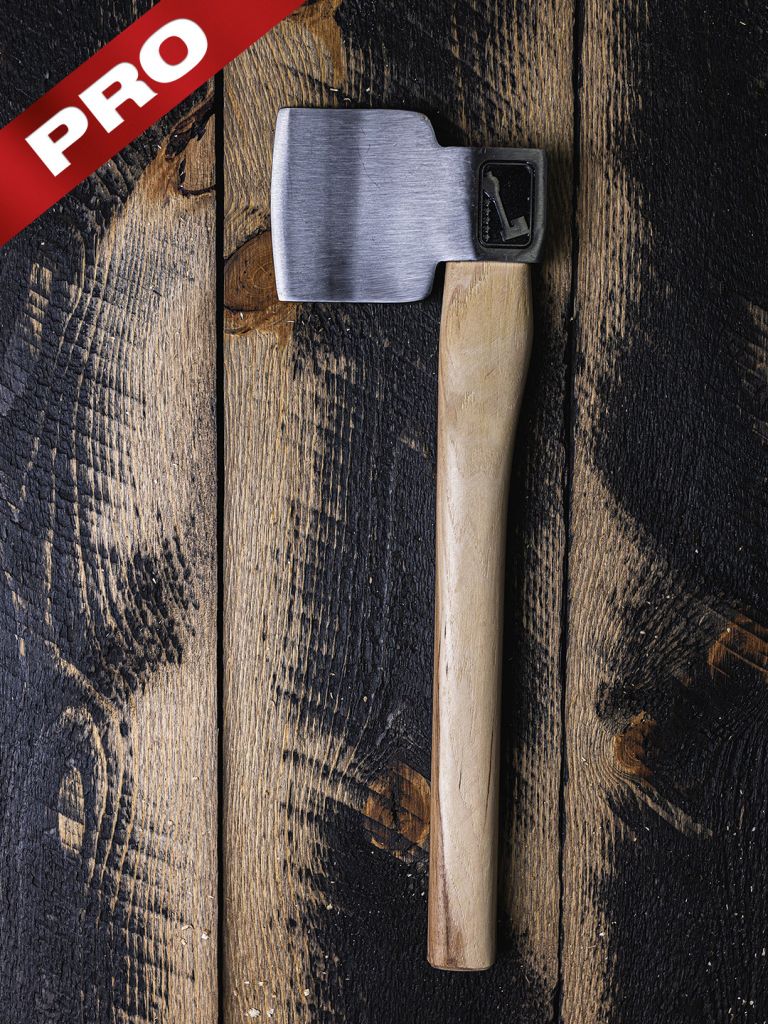
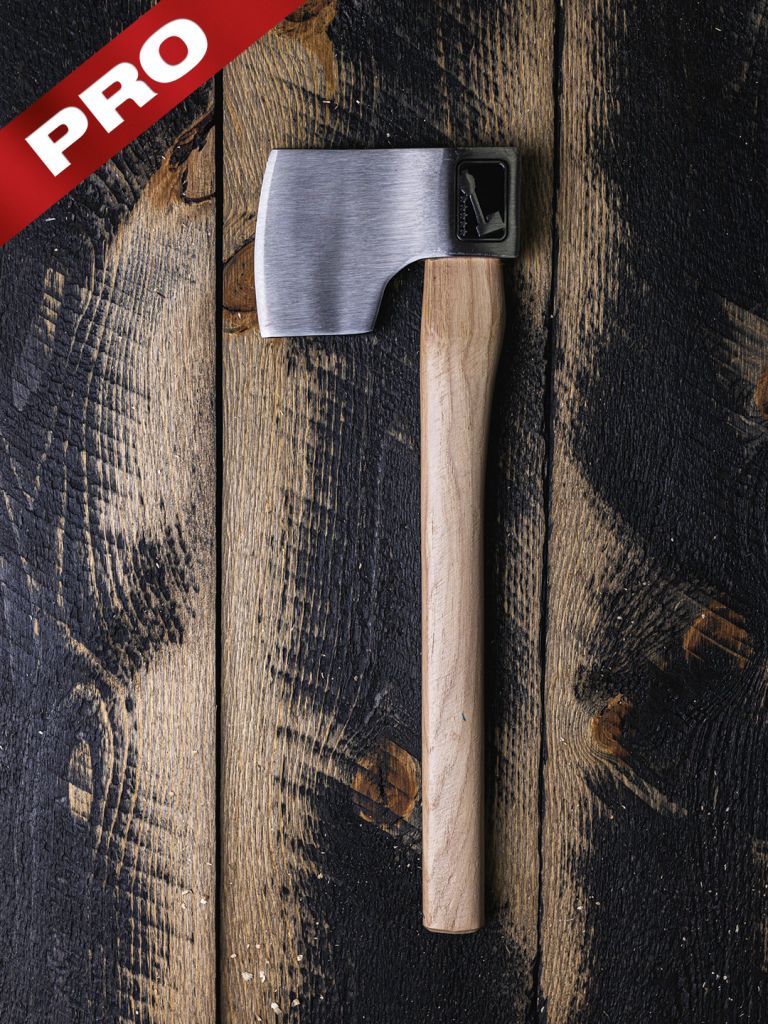
Our Premium Line of Axes are intended for advanced Axe Throwers, and feature patented Throwing Axe designs.
We’ve created a resource to help you pick which Premium Axe is right for you.
The Ace Of Spades

The Butcher

The Corporal

The Bad Axe
Top of the Line Throwing Axes – The WATL Pro Line
The Jack of Clubs Pro
The Queen of Hearts Pro
Social Media
We hope this guide will help you get set up and ready to practice at home and with your friends. While you practice, as always check out The World Axe Throwing League on Instagram and Facebook or join our Facebook Group for awesome discussion, posts and community stories!
Looking to start an axe throwing facility or club? Interested in getting information on Insurance? Check out the official Insurance Sponsor of WATL: